What is Microsoft Fix It Center?
Microsoft has released a beta version of a new tool called Microsoft Fix it Center. This tool provides one single point you can go to in order to run several different troubleshooters to solve the different issues you are having with your computer. Although currently in beta it already provides a multitude of automatic troubleshooters to you. If you are having problems not addressed by the tool, you can report your issue through the tools online center and hopefully Microsoft will follow up on it. The tool looks promising, especially for those of us that falls into the category of being the family and friends it-guy! Just make sure you have this installed on their machines – and you can easily guide them through its use.
System requirements
Microsoft Fix It Center can be installed on:
- Windows XP SP3
- Windows XP Pro (64-bit) SP2
- Windows Vista
- Windows 7
- Windows Server 2003 SP2
- Windows Server 2008
- Windows Server 2008 R2
Note: You may need Internet connection to get started with Microsoft Fix It Center.
Installing Microsoft Fix It Center
First, you need to download Microsoft Fix It Center
After the downloading is complete, run the setup file that you have just downloaded. You will then see the window below.
After the installation has completed, you will be asked to set it up and personalized it for your PC.
Based on your PC hardware and software, Microsoft Fix It Center will suggest additional troubleshooters it can download.
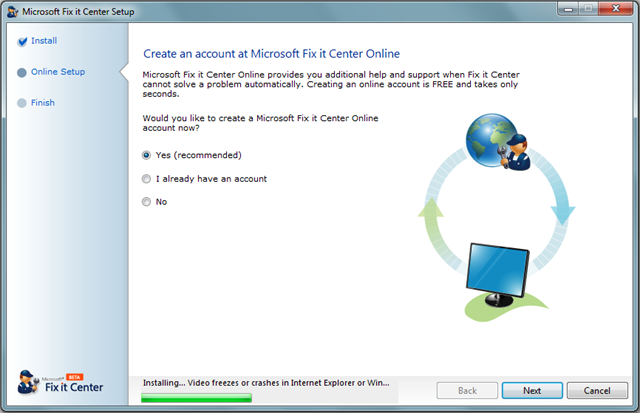
Next, you will be required to create an account at Microsoft Fix It Center Online
If you are creating a new account, you can use your current Windows Live ID to sign up.
Then, Microsoft will ask for your permission to share some information about your system with the online service.
Finally, you have successfully installed Microsoft Fix It Center on your PC.


